Scheduled Messages Overview [PRO]
Crafting individual text messages immediately before they’re sent isn’t an efficient use of time for a savvy business. With Scheduled Messages![]() , you can create multiple SMS messages now and schedule them to be sent later.
, you can create multiple SMS messages now and schedule them to be sent later.
In addition to allowing businesses to plot entire SMS campaigns from beginning to end, scheduled messaging opens up plenty of outreach possibilities for customers and prospects. A few examples include:
- SMS marketing campaigns that can be scheduled based on time zones, holiday schedules, and more
- Appointment reminders sent to individuals
- Communication follow-ups at a pre-determined interval
Once your account has been approved for Ooma Business Texting, you can get started setting up scheduled messages by following the instructions below.
Create a scheduled message
- Go to the Messages module in the Desktop App.
- Craft a text message to up to ten recipients. Use the dropdown arrow beside the Send button to open the Schedule message menu:

- Choose one of the suggested times or select Custom time to make your own schedule.
Your message will be automatically sent to the recipient(s) at the time you choose.
View a scheduled message
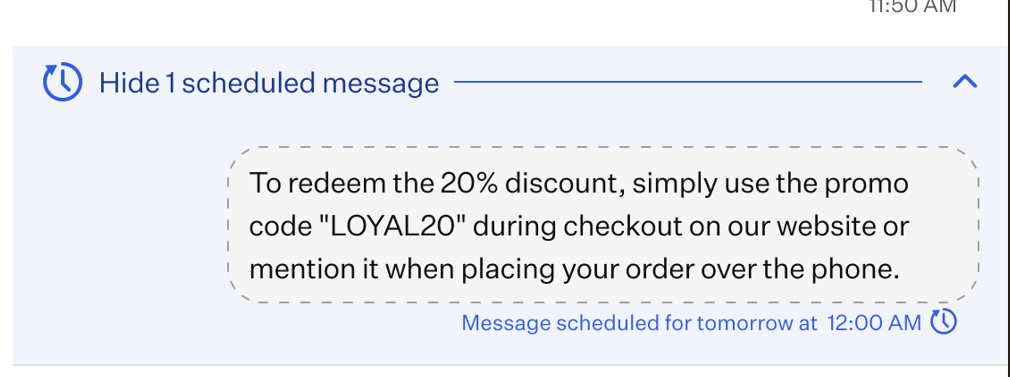
You can view a single scheduled message by opening the thread the message will be sent to. The message will appear beneath a label identifying it as a scheduled message:
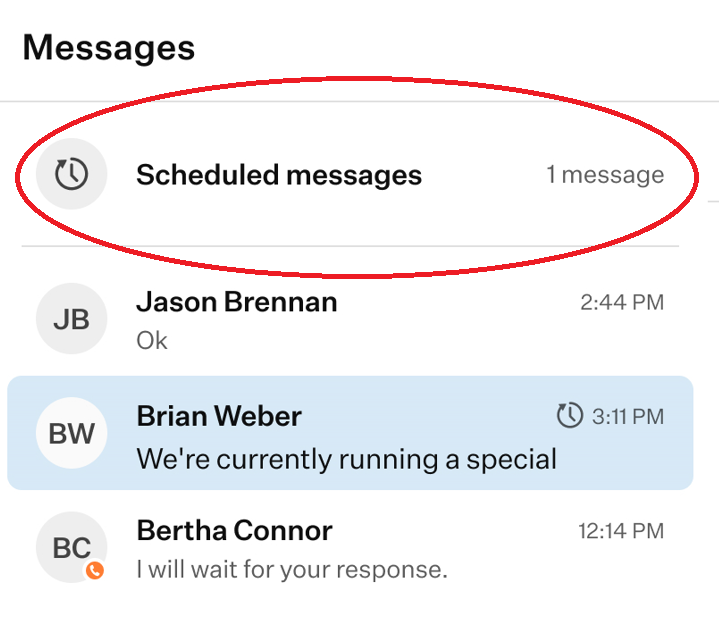
If you’d like to view all scheduled messages, use the Scheduled messages entry at the top of the messages module:
Reschedule a scheduled message
- Go to the Scheduled messages entry at the top of the Messages module in the Desktop App.
- Find the message you’d like to reschedule.
- Use the corresponding
 to open the a dropdown menu and select Reschedule.
 - Update the time and date.
- Save your changes.
Delete a scheduled message
- Go to the Scheduled messages entry at the top of the Messages module in the Desktop App.
- Find the message you’d like to delete.
- Use the corresponding to open the a dropdown menu and select Delete.
- Confirm the message deletion.
Send a scheduled message now
- Go to the Scheduled messages entry at the top of the Messages module in the Desktop App.
- Find the message you’d like to send.
- Use the corresponding to open the a dropdown menu and select Send now.
- Confirm that you’d like to send the message immediately.
