IMPORTANT: These instructions should only be followed when it is requested by an Ooma Office Support Representative.
Make sure that the Cisco IP phone is connected to your local network and to the Internet using an Ethernet cable inserted on the SW port (bottom port) on the back of the phone.
While the Cisco IP phone is powered on, do the following:
- Press the Setup key (the one below the envelope key),
- Press [1][3], and
- Press the ok softkey.
The phone will restart. Once that process is complete, do the following:
- Press the Setup key (the one below the envelope key),
- Press [9], and
- Take note of the “Current IP” value that will follow this format: x.x.x.x (e.g. 192.168.1.2)
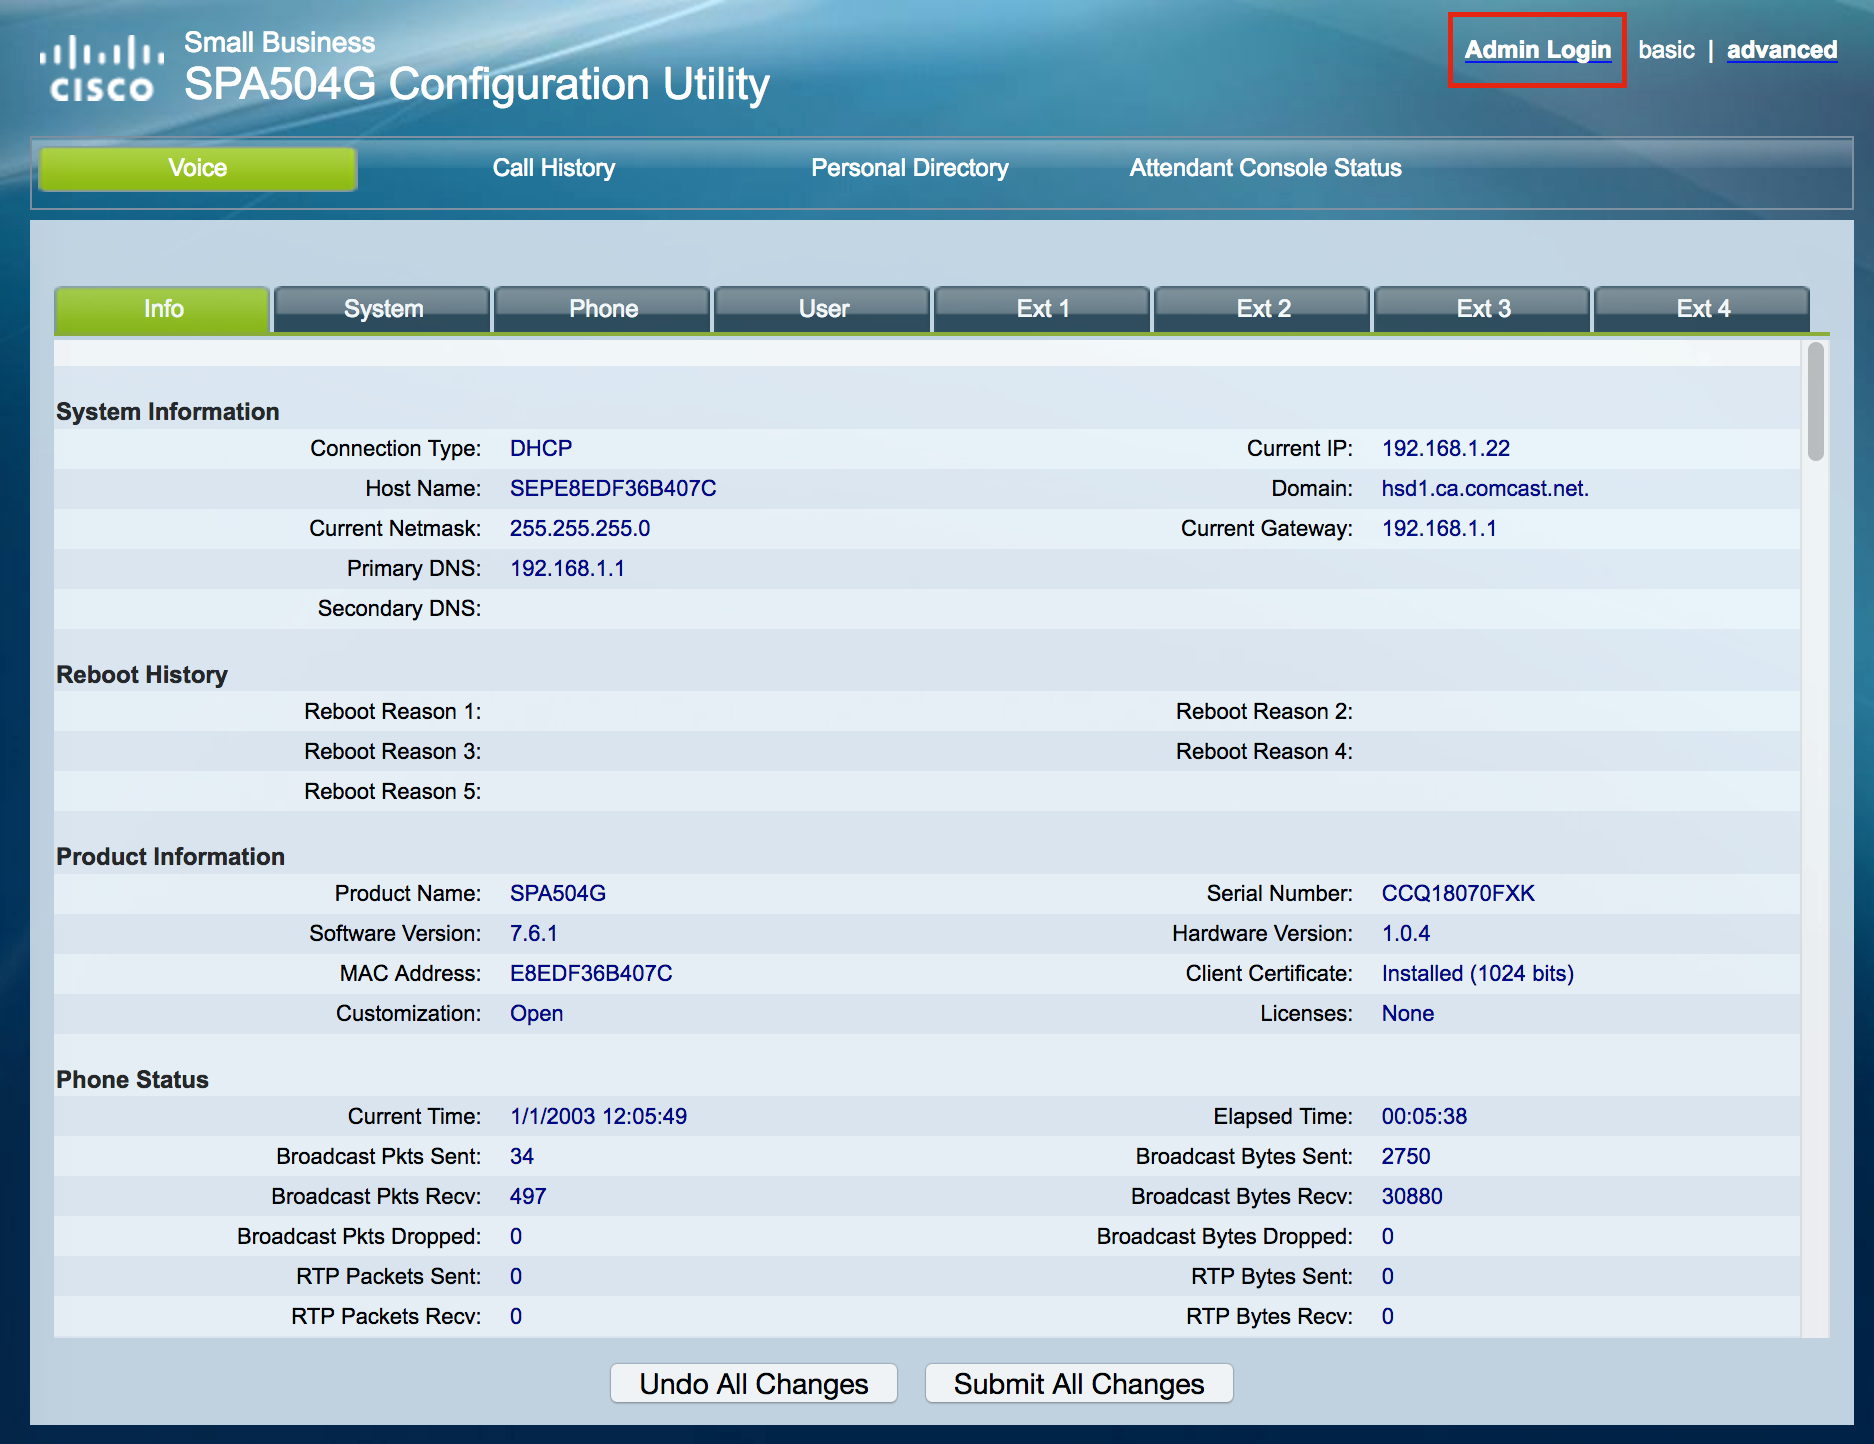
Using a computer on the same local network that the Cisco IP phone is connected to, open a web browser and enter the “Current IP” value that you noted above.
Then, click on [Admin Login]:
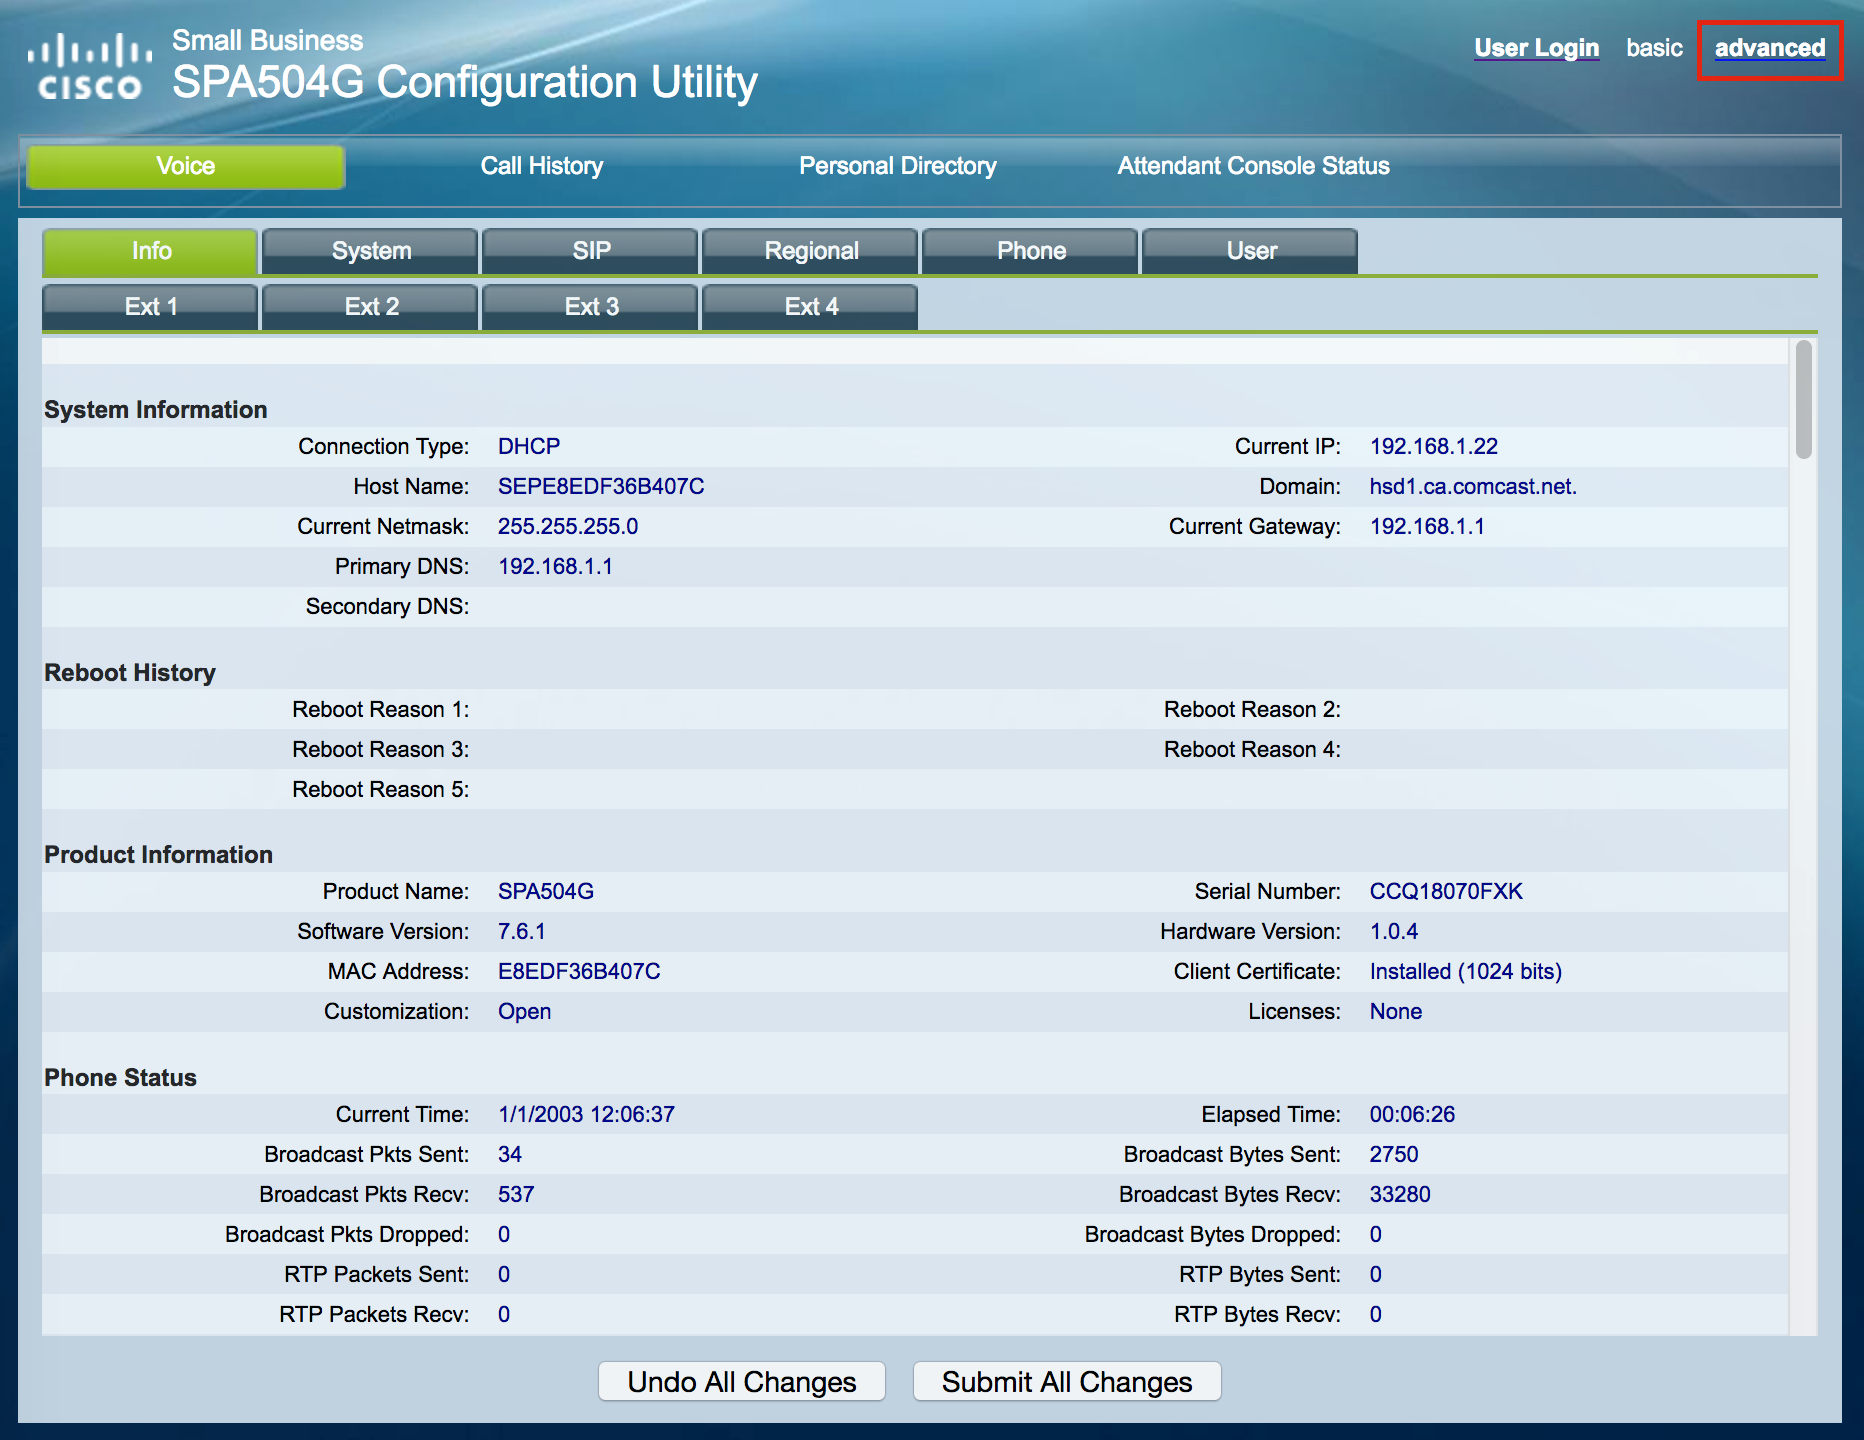
Click on [advanced]:
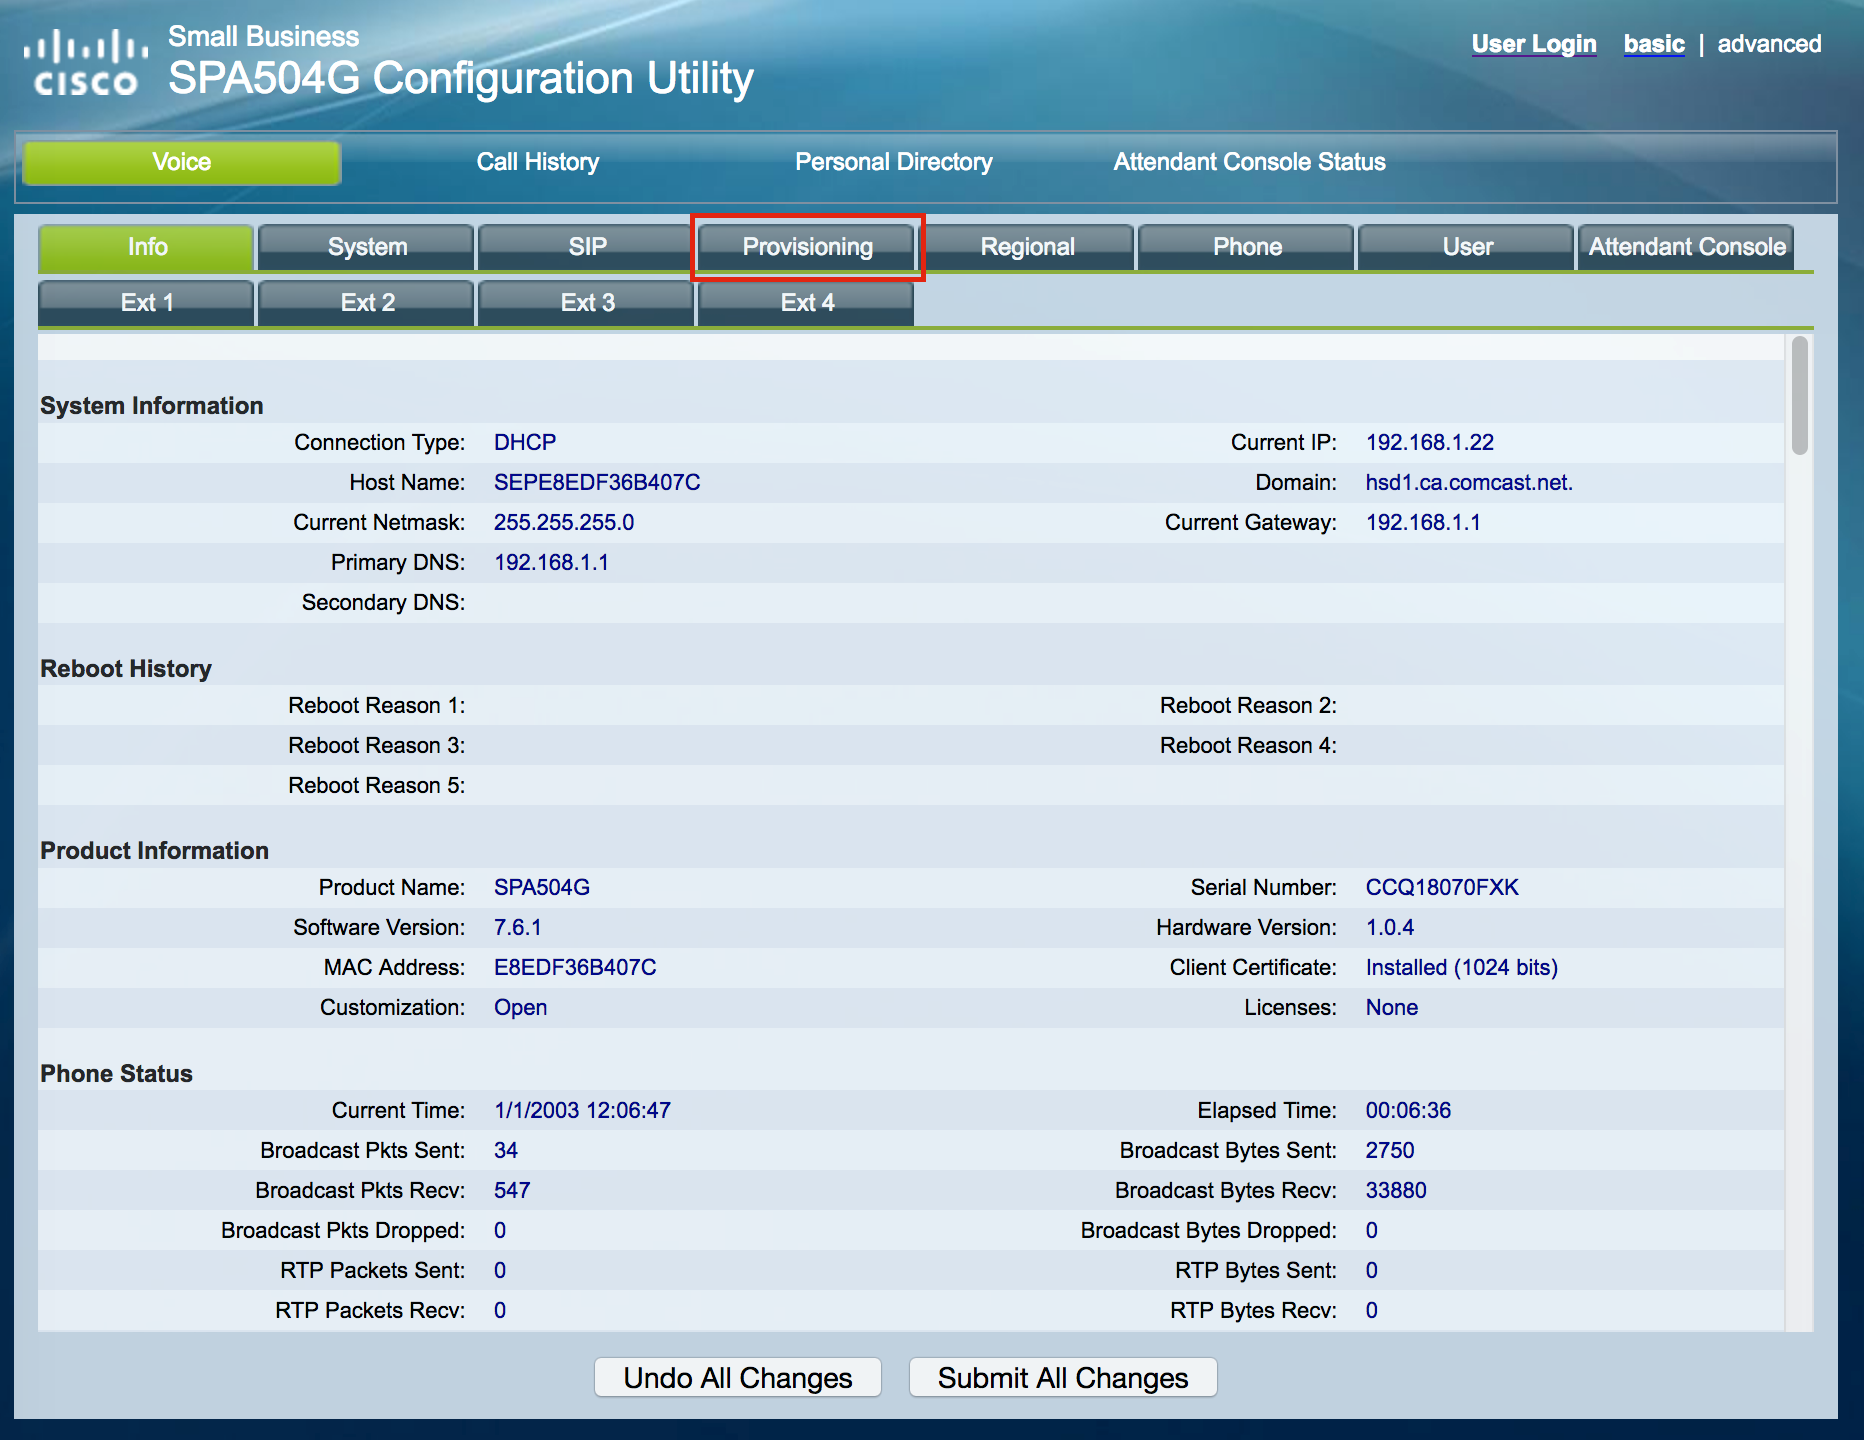
Click on [Provisioning]:
Enter the following values in the areas shown in the screenshot below:
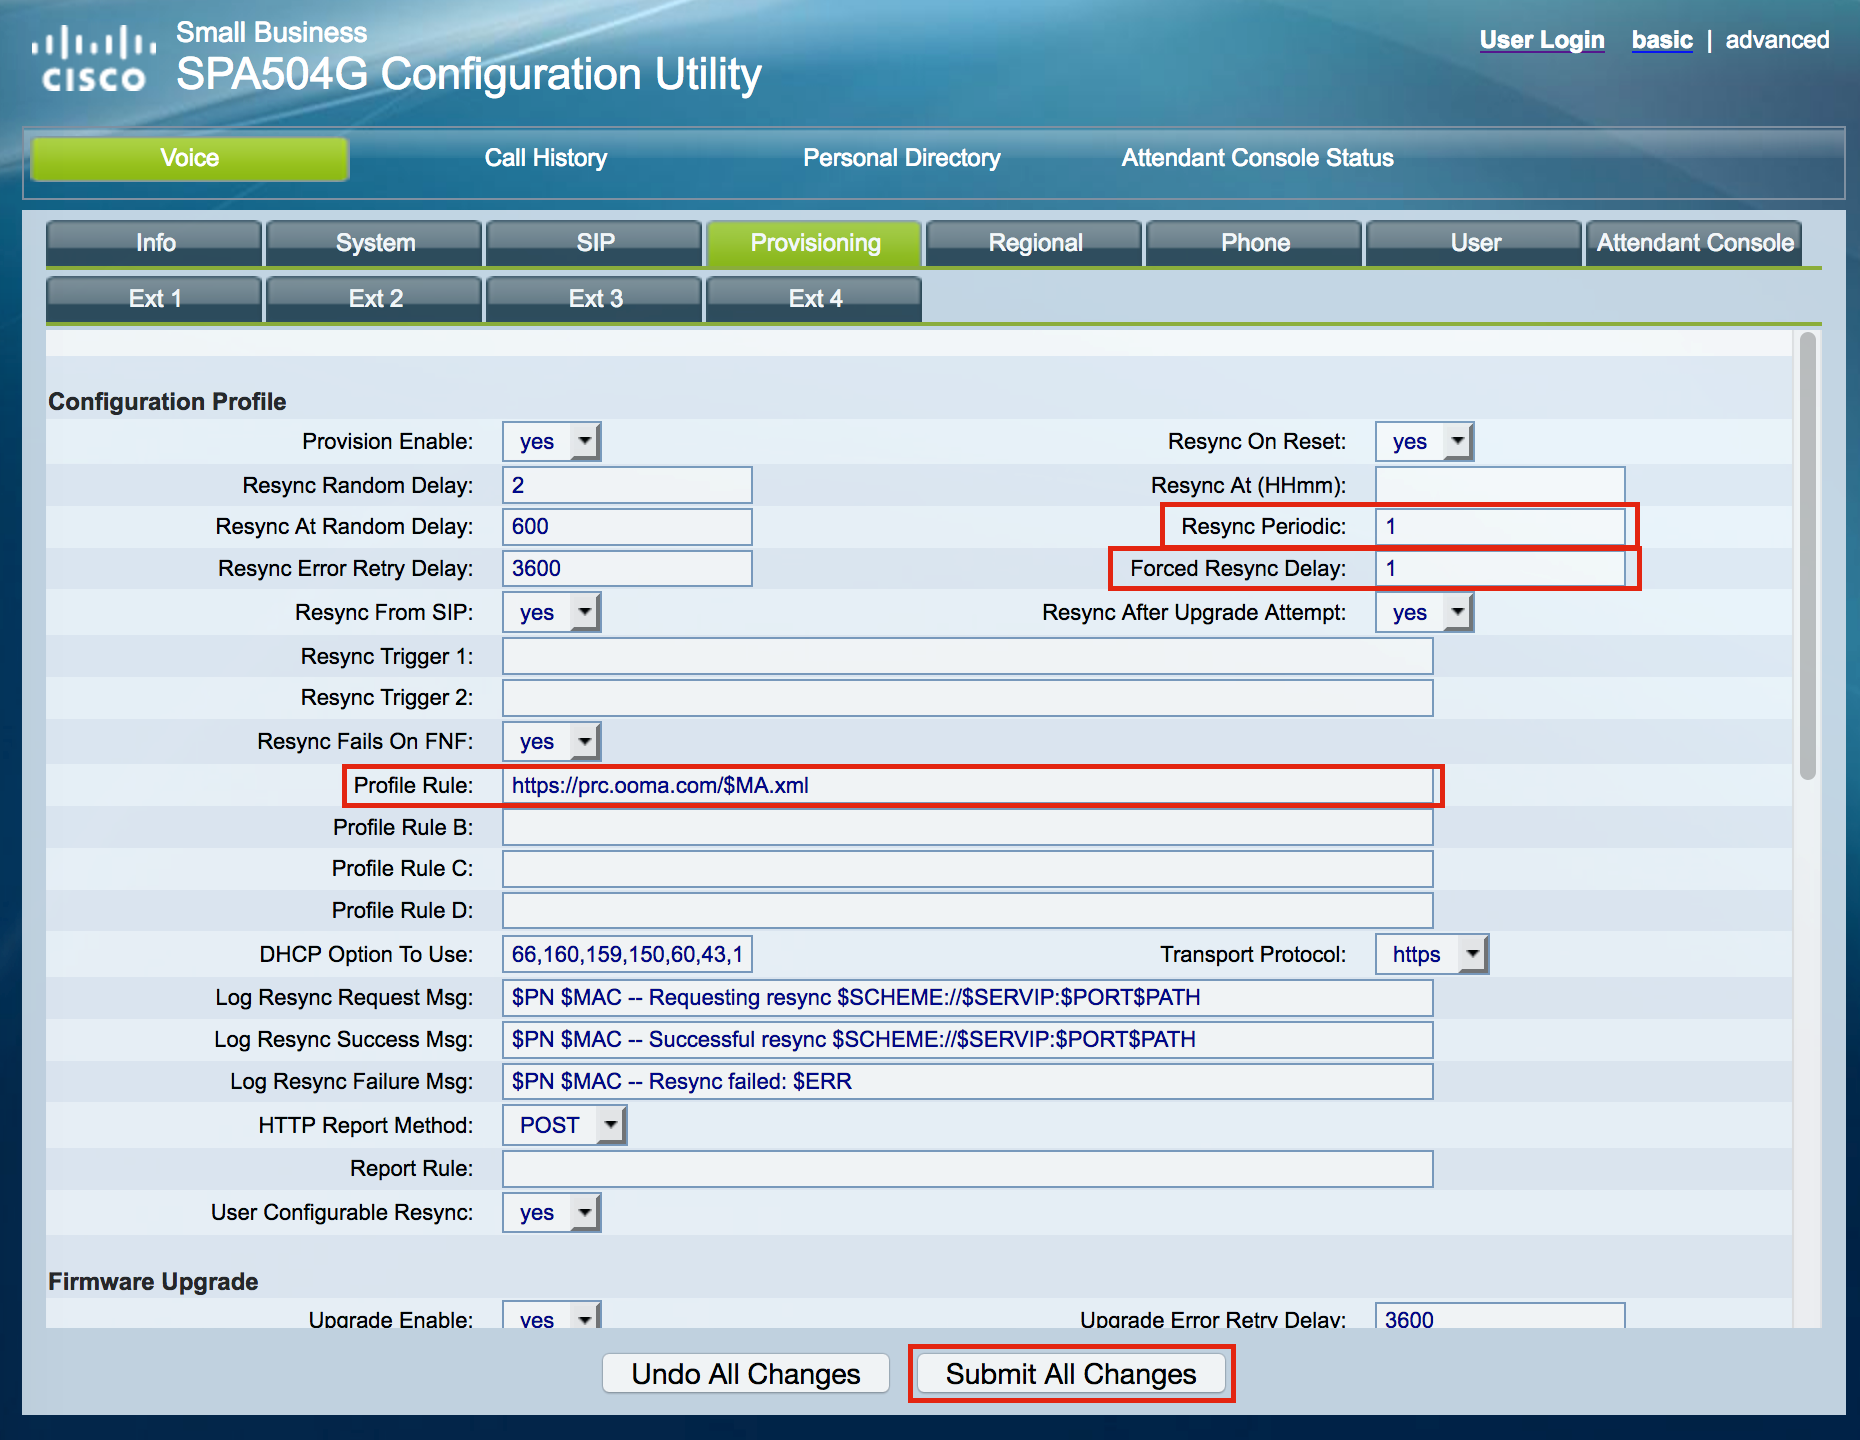
Resync delay: 1
Forced resync delay: 1
Profile rule: https://prc.ooma.com/$MA.xml
Finally, click on [Submit All Changes].
Your Cisco IP phone will automatically reboot several times. It will go into service in less than five minutes. If the phone does not go into service, please contact Ooma Office Customer Support again.