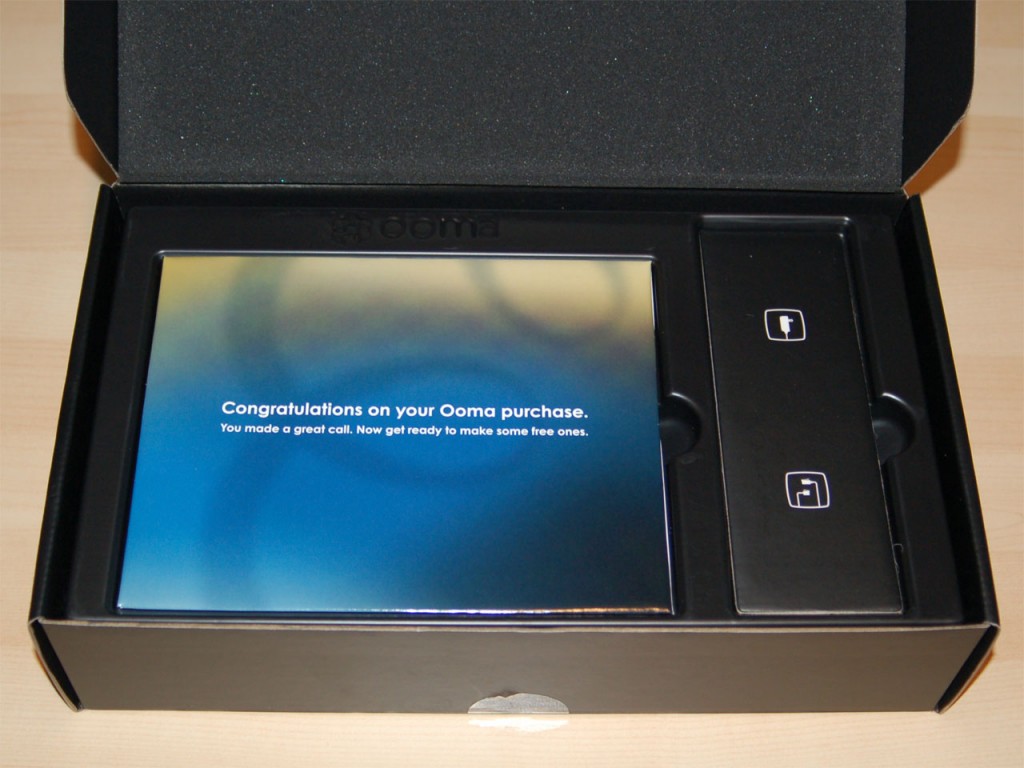
What Comes in the Box?
Opening up your new Ooma Telo Base Station device is your first step to firing your phone company! Setting up the Ooma Telo Base Station is a quick and painless process, but before you get started you may want to take a moment to familiarize yourself with everything that comes in the box:
Quick start guide
With this guide, you have a physical companion as you walk through the setup process for your Ooma Telo Base Station. Make sure to open the guide up completely and begin with Step One!
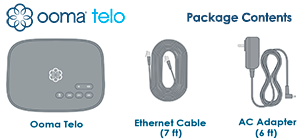
Ooma Telo Base Station device
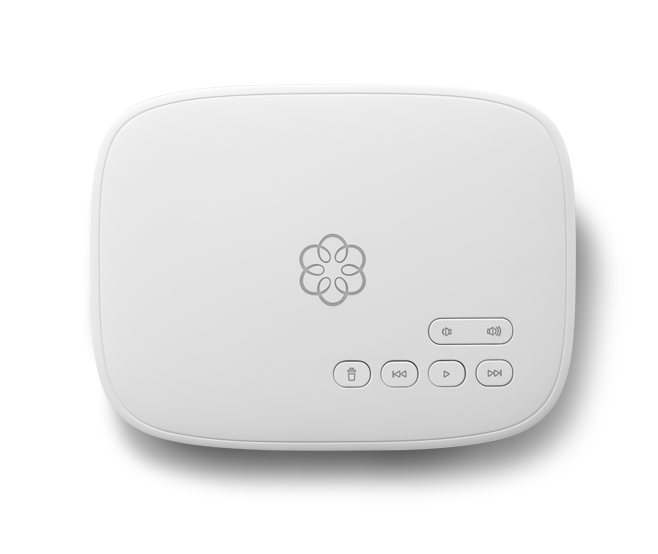
The most impressive piece of equipment in the box is, of course, your Ooma Telo Base Station. With this device you’ll enjoy all of the capabilities of a full-featured phone service without the steep monthly bill.
The top panel of your Ooma Telo Base Station features a touch-sensitive user interface. Touching the icons allows you to access your voicemail, switch between lines and adjust volume and brightness.
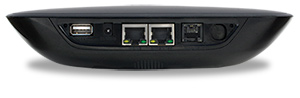
The back of your Ooma Telo Base Station is where you’ll find all of the ports you’ll need to connect up your Ooma Telo Base Station.
Cable accessories
Your Ooma Telo Base Station comes complete with all of the cables you’ll need to get up and running right away. Included in the box, you’ll find the following:
- Power cord
- Telephone cable (RJ-11)
- Flat ethernet cable (RJ-45)
Next Steps
Once you’re done fawning over your new Ooma Telo Base Station, you can move on to activating your account and setting up your system. You can find more information on your next steps in the activation FAQ.